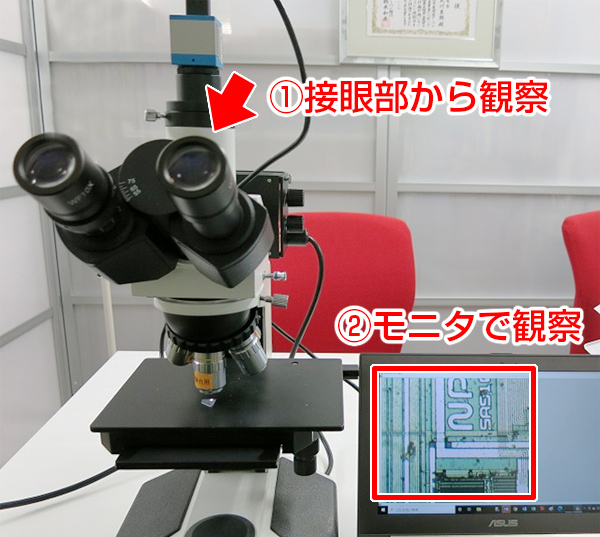
Observation with a camera attached to a microscope
A microscope is a device that is used by looking through an eyepiece with the naked human eye.
The premise is that humans can see small objects by enlarging them.
If you want to take and save images of what you see through the microscope, or share the images with other people, you can use a camera.
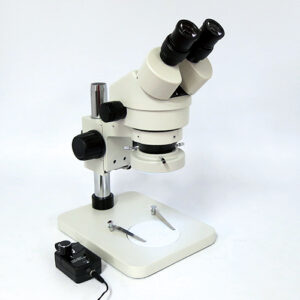
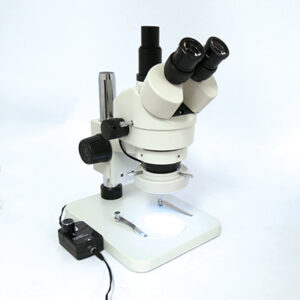
Our microscopes come in binocular and trinocular types.
| Binocular type | Trinocular type |
 |
 |
Binocular types have two eyepieces that you look through with your eyes.
The trinocular type has two eyepieces for viewing with the eyes + one camera connection port, for a total of three eyes.
It becomes.
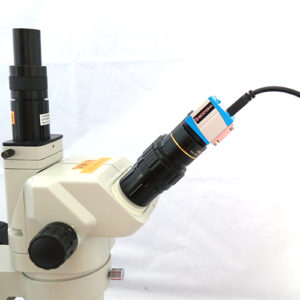
Our microscope camera can be attached to either binocular or trinocular type to take pictures.
If you use a binocular type, you have to remove the eyepiece and replace it with a microscope camera.
If you plan on installing a camera, we recommend the trinocular type.
If it is a trinocular type, you can observe with the binocular eyepieces while the camera is attached to the trinocular part.
 |
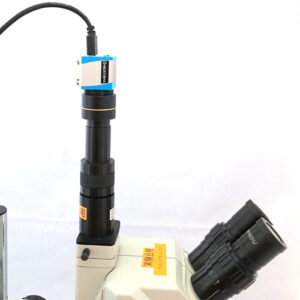 |
| Example of installation on binoculars | Example of attachment to trinocular part |
●What problems occur when attaching a camera to a microscope?
As mentioned above, microscopes are originally used to magnify small objects and observe them with the naked eye.
This is the main purpose of the premise.
Attaching the camera to the microscope and taking pictures is the second objective, and it is a rather forced and brute force method.
As a result, the following problems occur.
|
~Problem~
|
●The microscopic image taken with the camera is out of focus. What is the reason?
Due to its structure, a microscope has two characteristics that make it difficult to focus on the entire surface when using a camera.
・Feature 1
As mentioned above, the main purpose of a microscope is to magnify small objects and observe them with the naked eye.
Shooting with a camera is a brute force method with a secondary purpose.
Therefore, due to its structure, the objective lens of a stereomicroscope is intentionally placed at an angle.
| Objective lens arrangement of stereomicroscope |
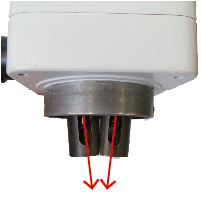 |
In this way, the objective lens of a stereomicroscope points slightly inward.
This structure is purposely designed to create a three-dimensional effect when viewed with both eyes.
This is the same as attaching the lens to the camera at an angle when using the camera.
Also, the situation where you use a camera and view the image on a monitor is not the same as looking through both eyes.
This is how you see it with one eye.
Therefore, even if the camera is installed directly above the microscope,
The situation is the same as taking a picture by tilting the camera at an angle.
Since the image is shot from an angle, there is also the problem of depth of field, which makes it difficult to focus on the entire image.
Feature 2
Many industrial cameras use elements that are a little smaller than 1/2 inch.
If you try to take a magnification image that is close to what you see when looking through a microscope,
It is necessary to use a camera adapter lens that lowers the magnification, such as 0.45x or 0.37x.
Lenses that reduce this magnification are prone to lens distortion, making it difficult to focus on the entire camera image.
*Recently, high-resolution industrial cameras have come out, and 1-inch elements are being used.
In that case, a 1x (1x) lens can be used, which reduces the effects of distortion.
Please contact us for details.
I actually took a photo.
The photo below was actually taken of a 10 yen coin using a microscope, camera, and 0.45x lens.
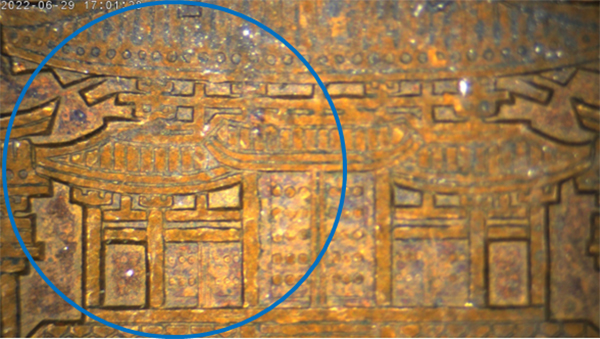
The left side is in focus, but the right side is blurry.
When attaching a camera to a microscope for photography, it’s common to encounter situations where the entire screen is not in focus, unlike the clear view observed when using the microscope with the naked eye. This discrepancy can indeed feel disconcerting. However, as mentioned earlier, achieving focus across the entire field of view when using a camera with a microscope is challenging.
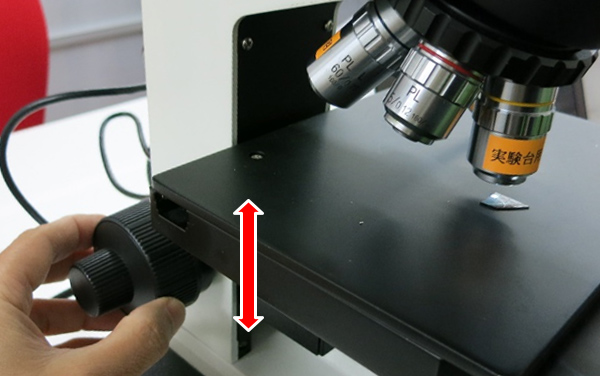
●How to focus a microscope image
However, by focusing on the center of the image while looking at the camera image, the out-of-focus area can be divided into left and right parts.
It is possible to adjust the image to be relatively easy to observe.
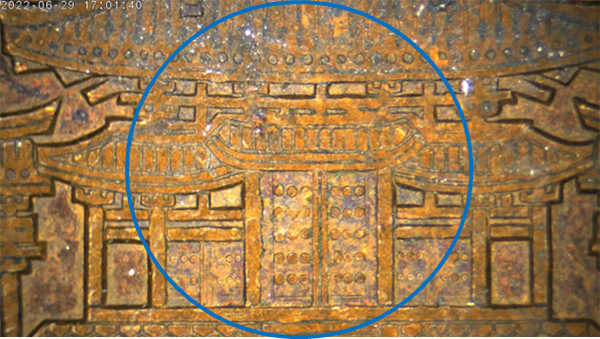
Focus on the center of the screen, and the left and right sides are evenly out of focus
The image is that the center of the image is in focus, and the sides are slightly out of focus.
If you adjust the focus position to the center of the screen in this way, you can take relatively clear microscope images.
●How to match the focus of the eyepiece and camera (C mount)
・The focus between the eyepiece and the monitor often does not match!?
When taking microscope images, it is preferable that the focus of the naked eye observation and the camera image be perfectly aligned.
However, due to “differences in optical paths” and “variations in manufacturing,” the focus of the eyepiece (naked-eye observation) and camera port (camera observation) often do not match.
 |
|
① When observed from the eyepiece ② When observed on a monitor
The focus of both of the above is often not the same. |
|
・The point of matching is the C mount on the microscope side.
The C-mount eyepiece tube on the microscope side comes in various types from different manufacturers, but as long as it’s a C-mount, any of them should not affect the focusing adjustment.
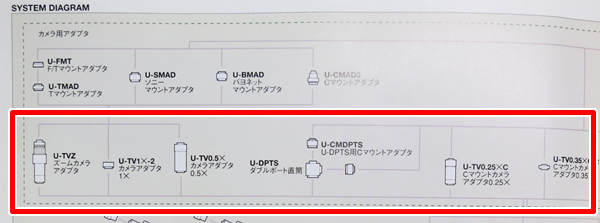
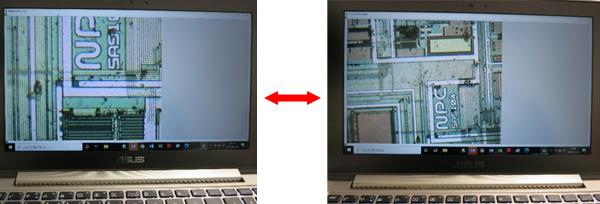
However, the choice of C-mount eyepiece can affect the field of view. On the C-mount side, the magnification affects the field of view as follows:
– Higher magnification → Narrower field of view
– Lower magnification → Wider field of view
▼Example of changing only the C-mount magnification without changing anything about the microscope body
・C-mount that can match focus
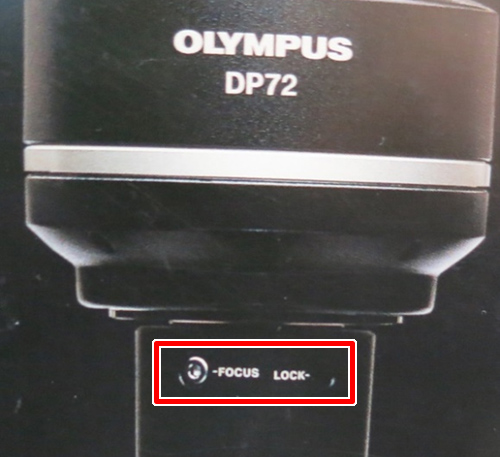
If you absolutely need to align the focal plane of the C-mount with that of naked eye observation, it’s advisable to choose a C-mount eyepiece with built-in fine adjustment capabilities. For example, with Olympus, you might opt for one that comes with the “Focus LOCK” feature.
Additionally, there are non-OEM (Original Equipment Manufacturer) C-mount adapters available for sale, such as the ones listed below.
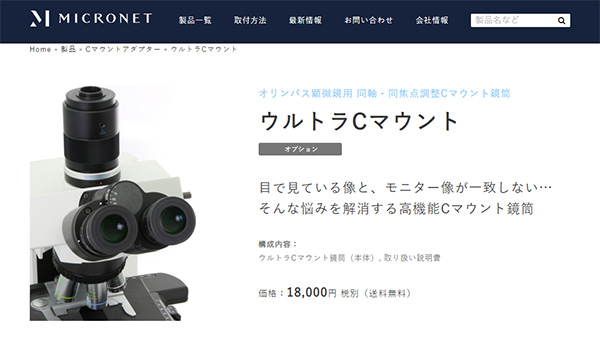
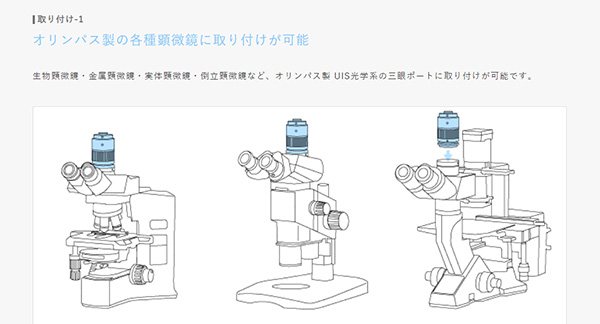
(Cre:https://www.microscope-net.com/products/c-adapt/ultra-c-mount/)
●まとめ
・顕微鏡にカメラを取付けた場合にピントは全面に合わせにくい。
・画面中央にピントを合わせるように調整すると比較的綺麗な画像が得られる。
・接眼部とモニタの焦点を一致させたい場合は、微調整可能なCマウントを使用する。