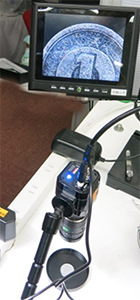
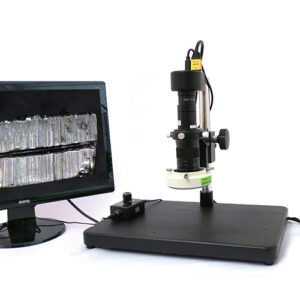
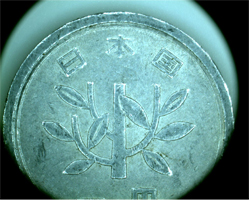
The phenomenon of flickering” refers to irregularities observed in footage captured by a camera, such as “repeated variations in brightness” and “shifts in color tone,” which are not perceptible to the naked eye.
In this article, we will provide an overview of “flickering phenomenon” and discuss methods to prevent it.
(1) WHAT IS FLICKERING?
The phenomenon known as “flickering” occurs with certain lighting devices that either flicker in sync with the power frequency or pulse in a dimming system.
Although the human eye cannot perceive the flickering of light, when the camera’s shutter speed is faster than the frequency of the flicker, it results in irregularities in the captured footage, such as “repeated variations in brightness” and “shifts in color tone.” This is referred to as the flickering phenomenon.
Flickering occurs under lighting conditions that involve periodic flashes, such as fluorescent lights, while it does not occur with direct current lighting.
There are two types of symptoms associated with flickering phenomenon:
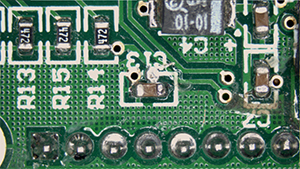
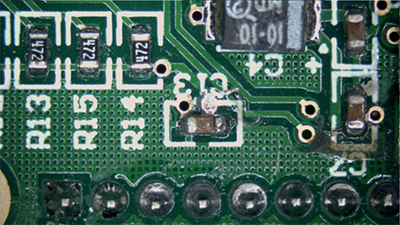
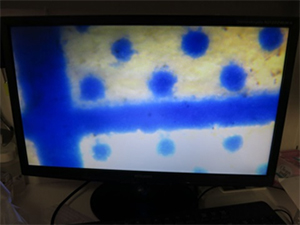
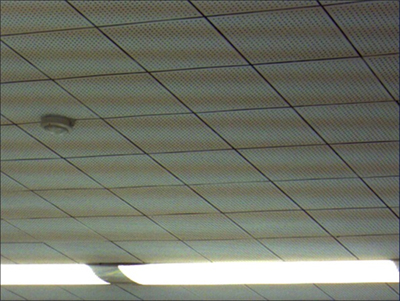
1. In cameras with a global shutter, the entire image experiences cyclic changes in brightness.
2. In cameras with a rolling shutter, the image exhibits horizontal stripes of brightness variations, and these stripes may appear to flow vertically.
The phenomenon of “flickering” in cameras with a rolling shutter results in the appearance of horizontal stripes of brightness variations.
Methods to prevent the phenomenon of flickering can be categorized into three primary approaches:
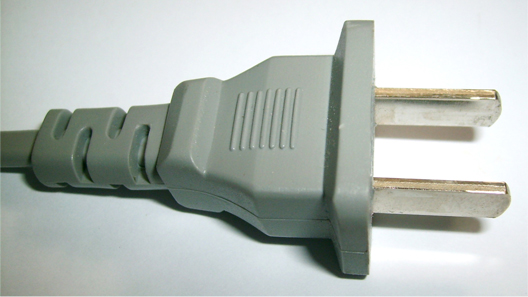
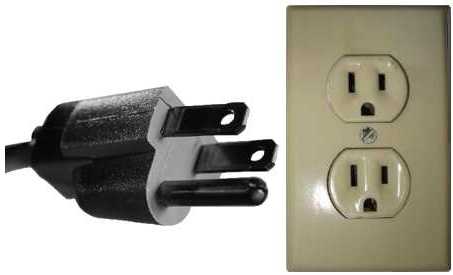
1. Utilize lighting devices employing direct current illumination.
2. Adjust the shutter speed to a pace slower than the flicker frequency.
3. Employ a camera equipped with the “flicker-free feature.”
-
Utilize lighting devices employing direct current illumination.
Flickering occurs in the presence of lighting sources that exhibit periodic emissions, while it does not occur when using lighting fixtures that operate on direct current illumination.
2. Adjust the shutter speed to a pace slower than the flicker frequency.
The phenomenon of flickering can be somewhat mitigated by adjusting the exposure time or shutter speed settings of the camera, but it cannot be completely eliminated.
Even if it appears to have disappeared, there are still variations in brightness occurring at intervals of several tens of seconds or longer.
In particular, when capturing images with a high-speed camera under fluorescent lighting, significant flickering phenomena occur.
* If it is not possible to adjust the shutter speed on the camera, one can compensate for the reduced illumination by narrowing the aperture of the lens and using lighting fixtures with direct current illumination. This helps to comparatively reduce the impact of pulse lighting.
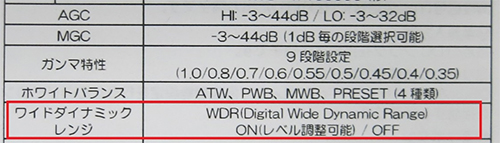
3. Employ a camera equipped with the “flicker-free feature.”
The “flicker-free feature” enables the camera to automatically detect the flickering of the light source and capture images at optimal moments with minimal impact on brightness and color tones.
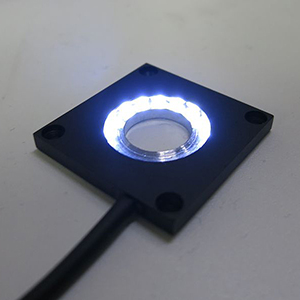
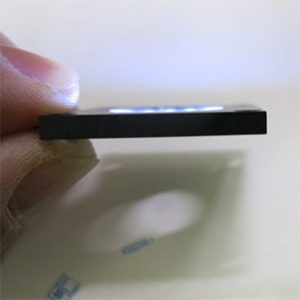
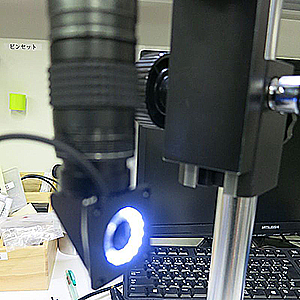
To avoid flickering phenomena, it is recommended to use lighting for high-speed cameras that either operate on direct current illumination or synchronize with the camera shutter, such as strobe lighting.
At our company, we offer a range of products including high-speed cameras, lighting specifically designed for high-speed cameras, and strobe lighting. If you are experiencing difficulties with flickering phenomena, please don’t hesitate to contact us for assistance.